Making Digital Art For a Living Room
Taking a look back at some of the cool tech toys of the early 2000’s, you may stumble across articles and cultural references highlighting Bill Gate’s digital art displays. These (relatively) massive LCD screens were rumored to have had sensors that detected exactly who entered a room, allowing screen content to accommodate their personal taste in art. Aside from the cost prohibitive and seemingly unmarketable niche, there were a number of technical limitations that delayed this product’s entry to mass market by as much as 15 to 20 years. In that vast amount of time major manufacturers have attempted dozens of times to excite the techy consumer base, but in the end all have struggled to convince people to buy additional ancillary screens for their living rooms. Until now(ish)….
Where does the market stand now? Well, thanks to steady annual improvements on LED, OLED, QLED, and other alphabet soup, device makers have found a few clever ways to get large screens to display digital paintings in a more pleasant and natural way by responding to the types of ambient light available in a room.
(Still, I’m personally suggesting that everyone simply wait for full color e-ink displays to dominate in this territory.)
That said, I wanted to show an alternative and more creative DIY way to get artsy with digital canvases. And what better way than to start with a real canvas!
The total project consists of five main components:
- Wrapped Canvas – $15-30
- WS2812b Light Strips – $11/ea (qty depends on canvas size)
- Power Supply – $12
- ESP8266/Arduino Board – $1-3
- Cardboard/Poster Board – $1-3
I began with the wrapped canvas — The size of a canvas dictates how many LED lights will have to be installed. I kept the canvas long and narrow so that I would only have to use two 150 LED light strips.
I found a decent and sturdy poster board and cut it to the exact dimensions of the canvas frame. My original thought was that I would have to staple or glue the board to the back of the canvas, however I found that white duct tape worked infinitely better and gave the bezel a cleaner look.
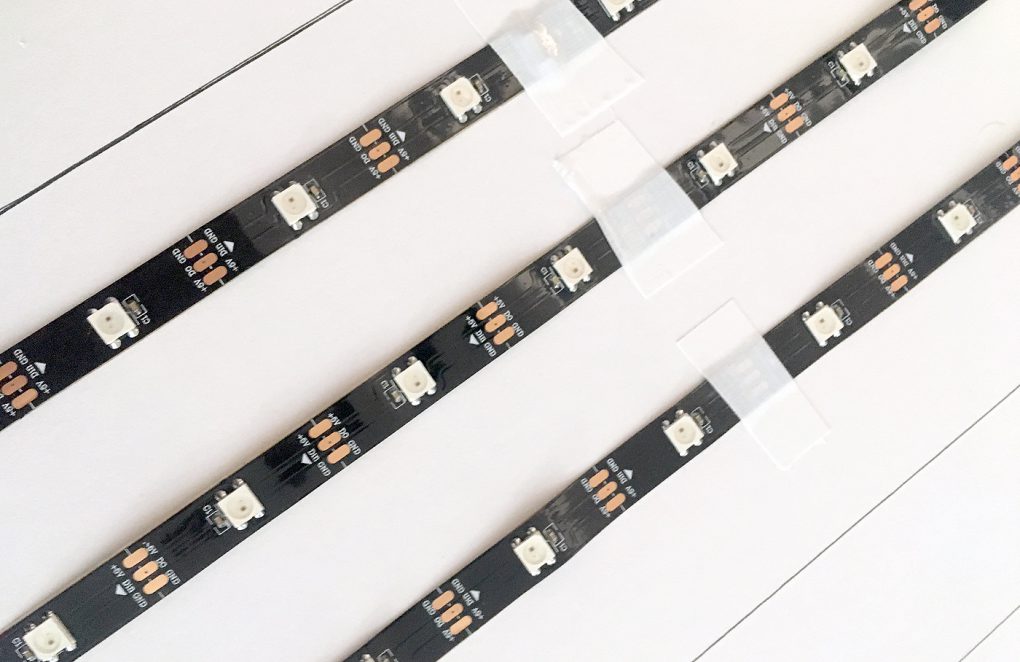
Before cutting the LED light strips to appropriate size, I made sure to measure the inner frame space as well as the distance between each LED. Doing so allowed me to chart out what my X and Y matrix would look like. The LEDs must be equal distance from each other from all directions for it to look seamless when displaying patterns and varying color intensities.
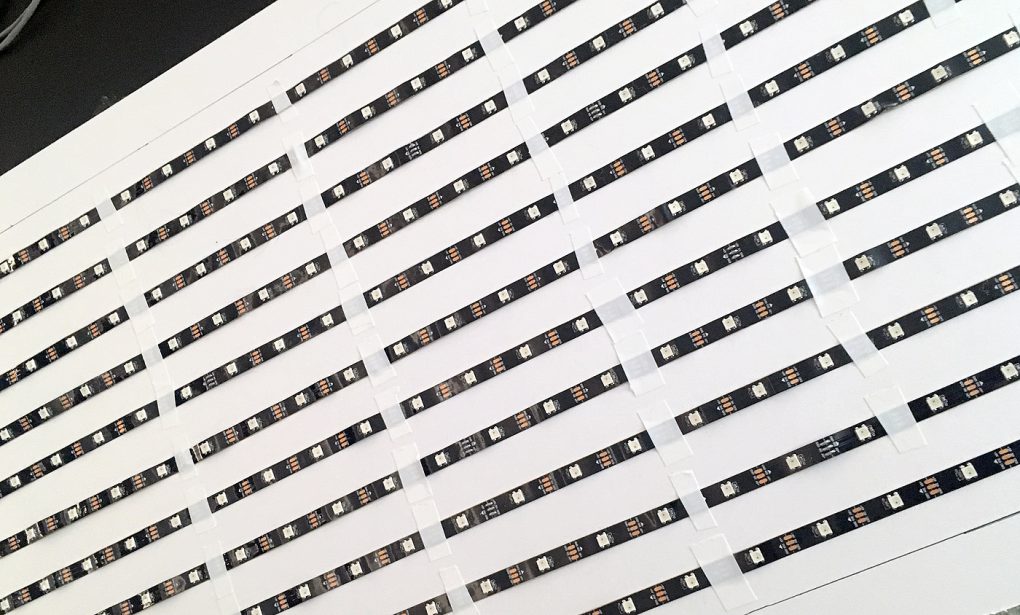
After cutting and taping the strips to the poster board, I soldered the light strips together in a snake-lines fashion which allowed me to run the data IN/OUT in a predictable pattern. This specific pattern is easily understood by Jinx and other matrix solutions as I have highlighted in a previous article. From there, power lines were sourced for each LED strip and an ESP8266 was connected right at the base of the canvas to control every light.
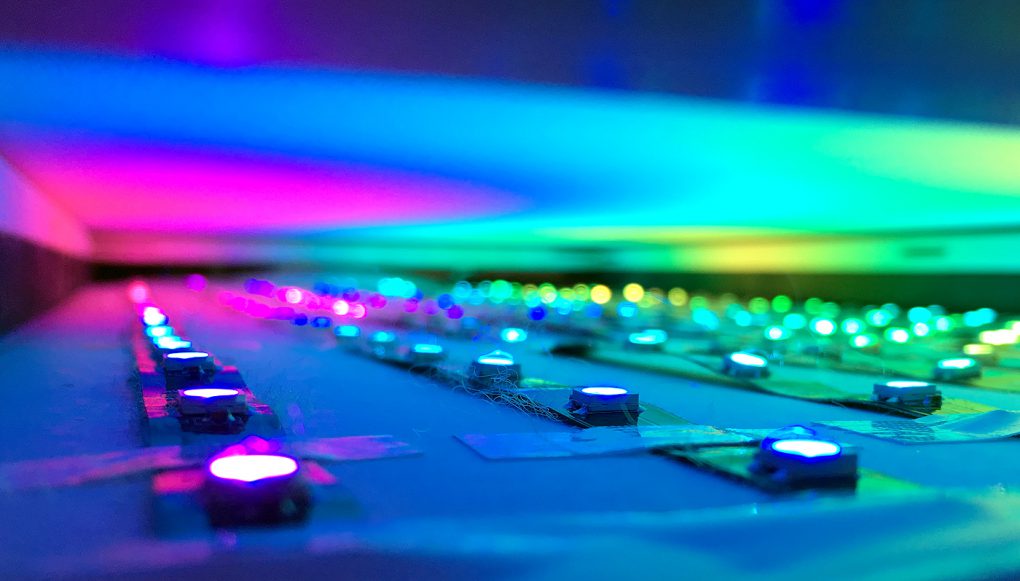
The key with this project involves light output control, specifically balancing how distracting is it compared to its surroundings. As with the more expensive and higher tech digital wall frames, a sense of how much light is in the room is important. This project can absolutely utilize an ambient light sensor to react to sudden or gradual changes in light. Furthermore, and going back to the canvases Bill Gates had, the content can be dynamically changed in any number of effective ways now including:
- Bluetooth proximity sensing (phone/watch/fob)
- Smart speaker commands/integration
- Temperature changes via sensor
- Timing or coordination with other smart home sensors
- Manual buttons to change scenes/playlists
- External API/Web (weather, sports scores, stock prices, etc)
One of the other fun benefits of being able to control the patterns on a DIY based system is that you can synchronize everything in the house together. The video below shows how the floor standing light, utilizing the same components, can compliment the canvas.
I had a lot of fun building this demonstration because it checks a number of boxes off of my technical bucket list from decades prior. Internet of Things (IOT) is making everything way more accessible and easier for all of us to craft on a level that used to be considered unattainable. I’ll be paying close attention to the advances in e-ink displays for 2020 and 2021.