Let’s Talk About Smart Homes
A few years ago I started to scratch the surface of smart home automation and Internet controlled “things”. I first explored the basics of board relays and how to customize ON/OFF control based on web browser actions.
**On a side note, the first time you control a light from the Internet is an exciting rush for anyone.
Custom code is always tricky, so I explored what was already out on the market. There wasn’t much. Belkin’s WeMo was the most popular Internet controllable thing, but its phone app was (and still is) a nightmare, the hardware was expensive ($60 per single outlet) and other web services had issues adopting its language.
I made the decision to skip all of the “cloud” based smart home appliances and build my own. The most important reason for me was the control of data. I still feel this is a vital topic, but I’ll get into that later.
My vision for the perfect smart home looked like this:
- Everything that can be wired will be wired back to the main smart home server (a Raspberry Pi) located in the server room.
- All scripts and IF/THEN routines I give will be customized to each sensor I add.
- No “cloud” services will exist. Everything will be in-house and I should be able to access the server via IP address so that I can secure transmissions the way I see fit.
That in mind, I began construction:
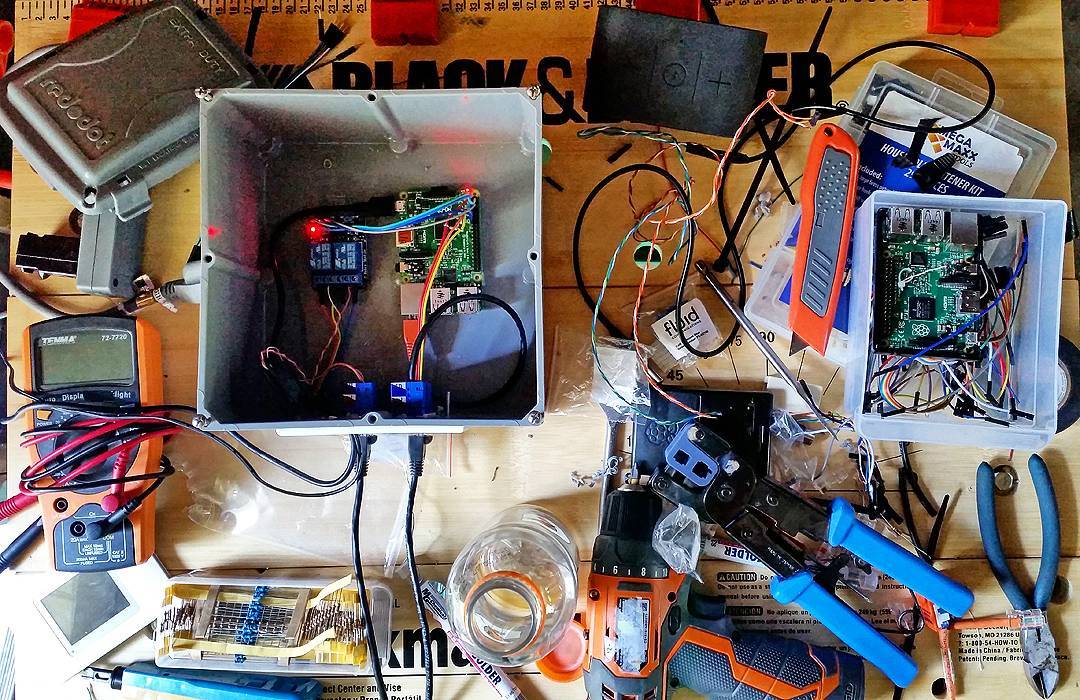
The main Raspberry Pi had a web server where I could call directly to any sensor or relay. It was fast and incredibly efficient.
Several Ethernet lines ran directly to the garage where a number of tasks were performed. A garage door relay was set up in the same enclosure as a sensor to detect whether it was open or closed. This same junction also fed a line that went back inside the house so that I could tell, via an LED light, the status of the garage door. The door could open and close with the simple click of a button on a smart phone or computer. The benefit of this system was that I could allow guests entrance to the house while out of town by simply providing a secure URL.
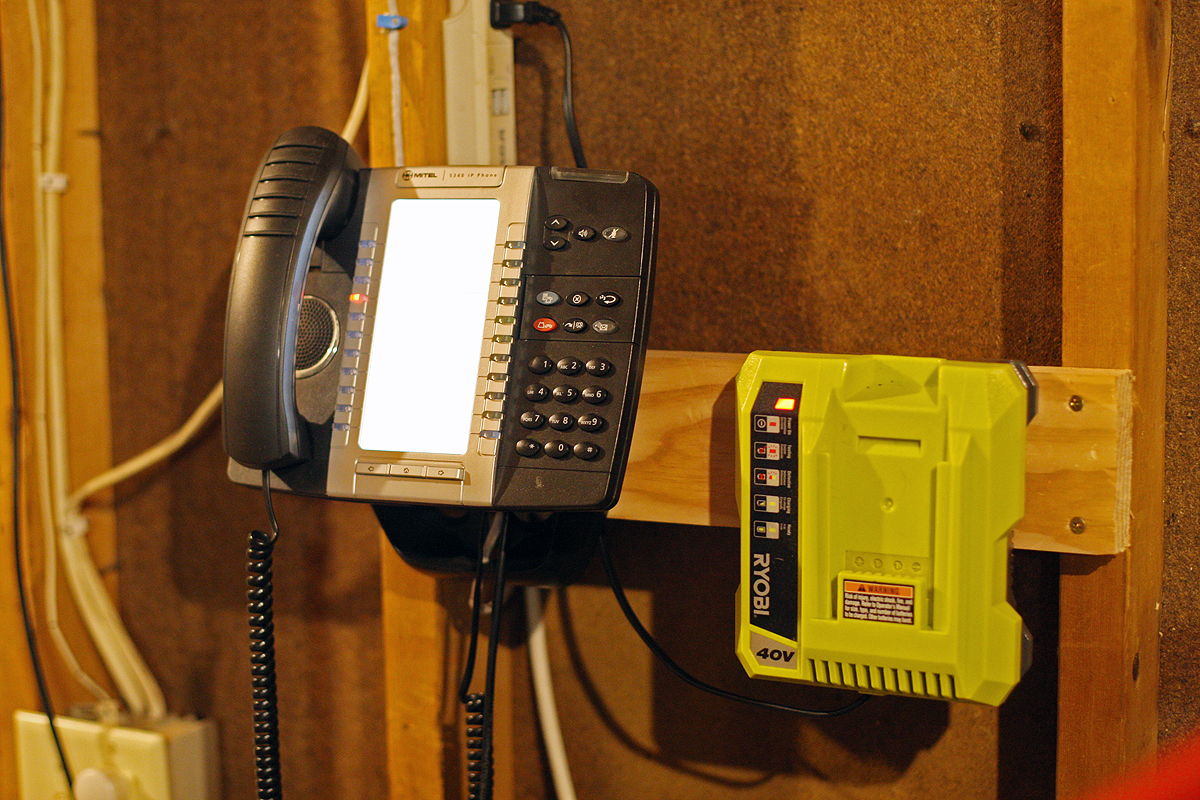
I also felt it was necessary to put VOIP phones in every room. This became increasingly useful as I figured out how to make them work with my smart home server.
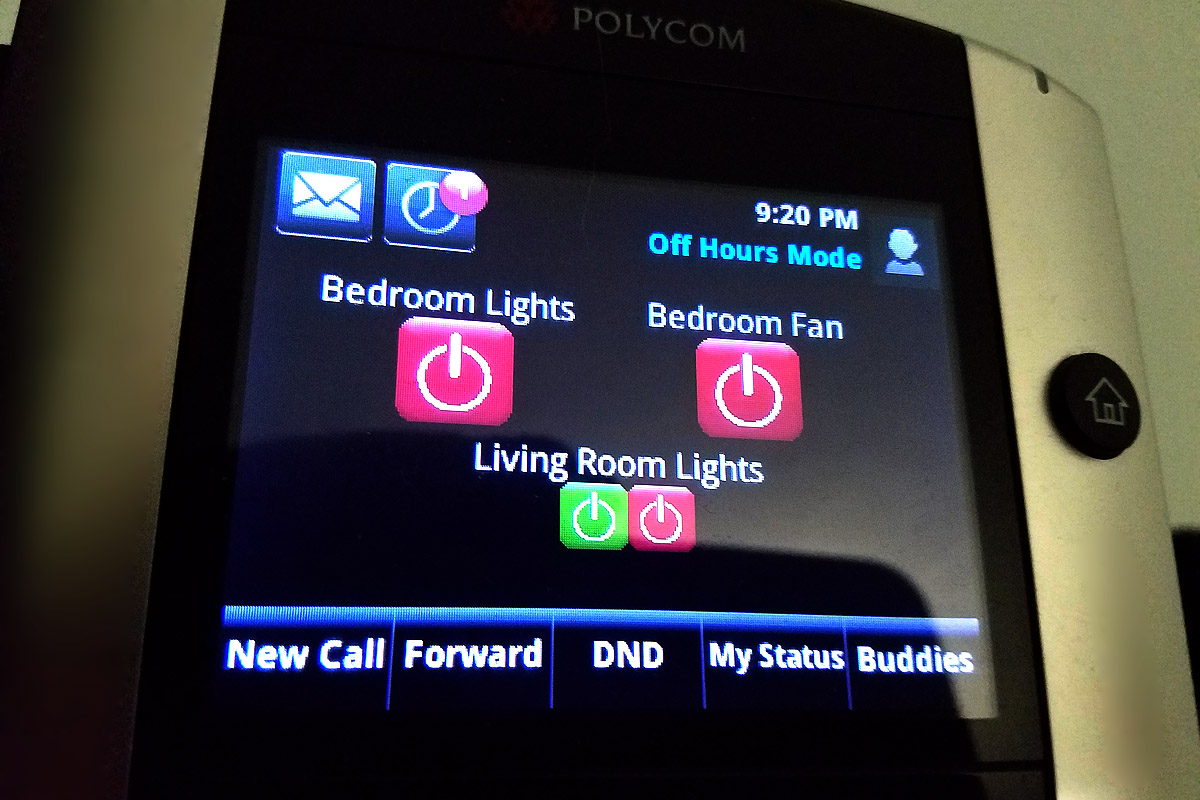
By using a small amount of PHP and MSPaint, I was able to create buttons and tasks for each touch screen phone. The goal was to lessen the demand for having a cell phone around to control various functions.
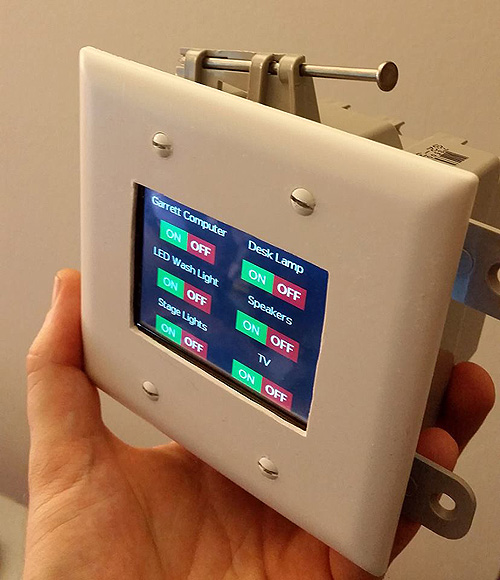
I built custom face plates with touch screens that relied on the same basic PHP pages located on the Raspberry Pi smart home server. More of a concept than anything else, the goal was to see just how digital this project could get.
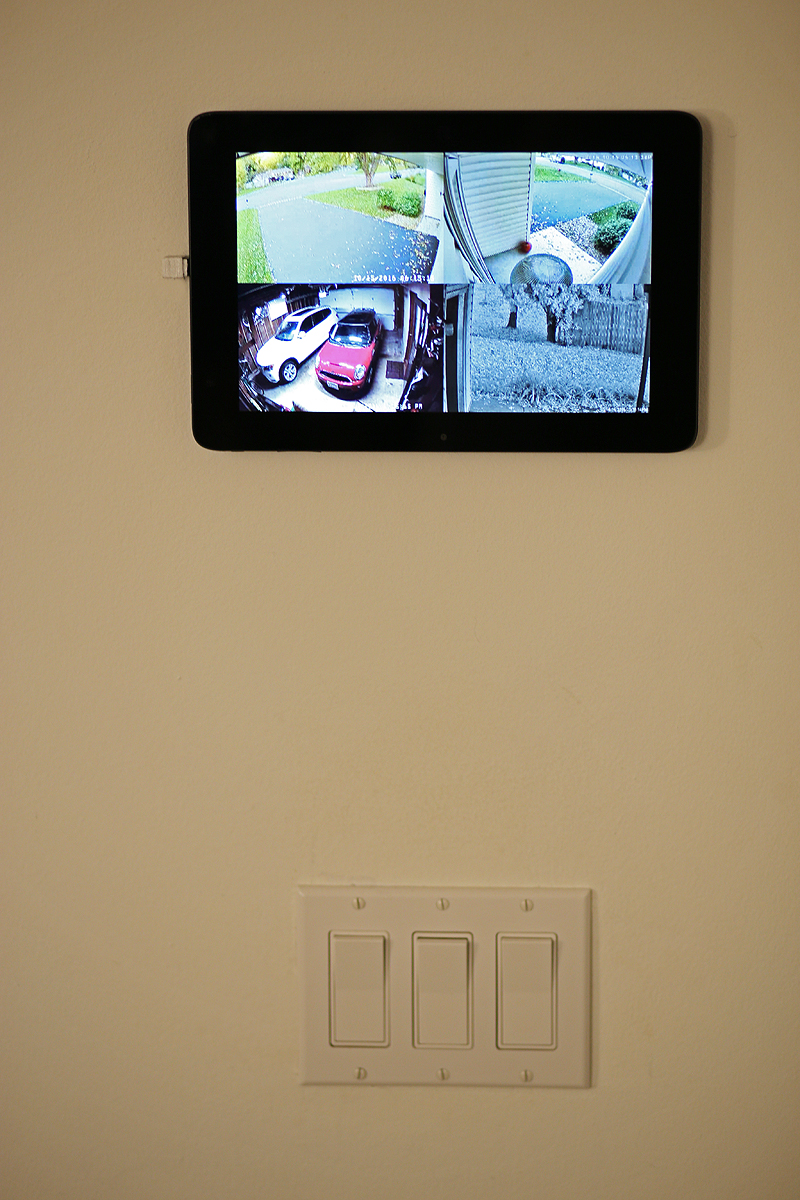
The most useful addition from an interface perspective was the wall mounted tablets that stayed on 24/7 and displayed information relevant to the rooms they were in. Soft buttons to control the garage door, lights, heating/air, etc.
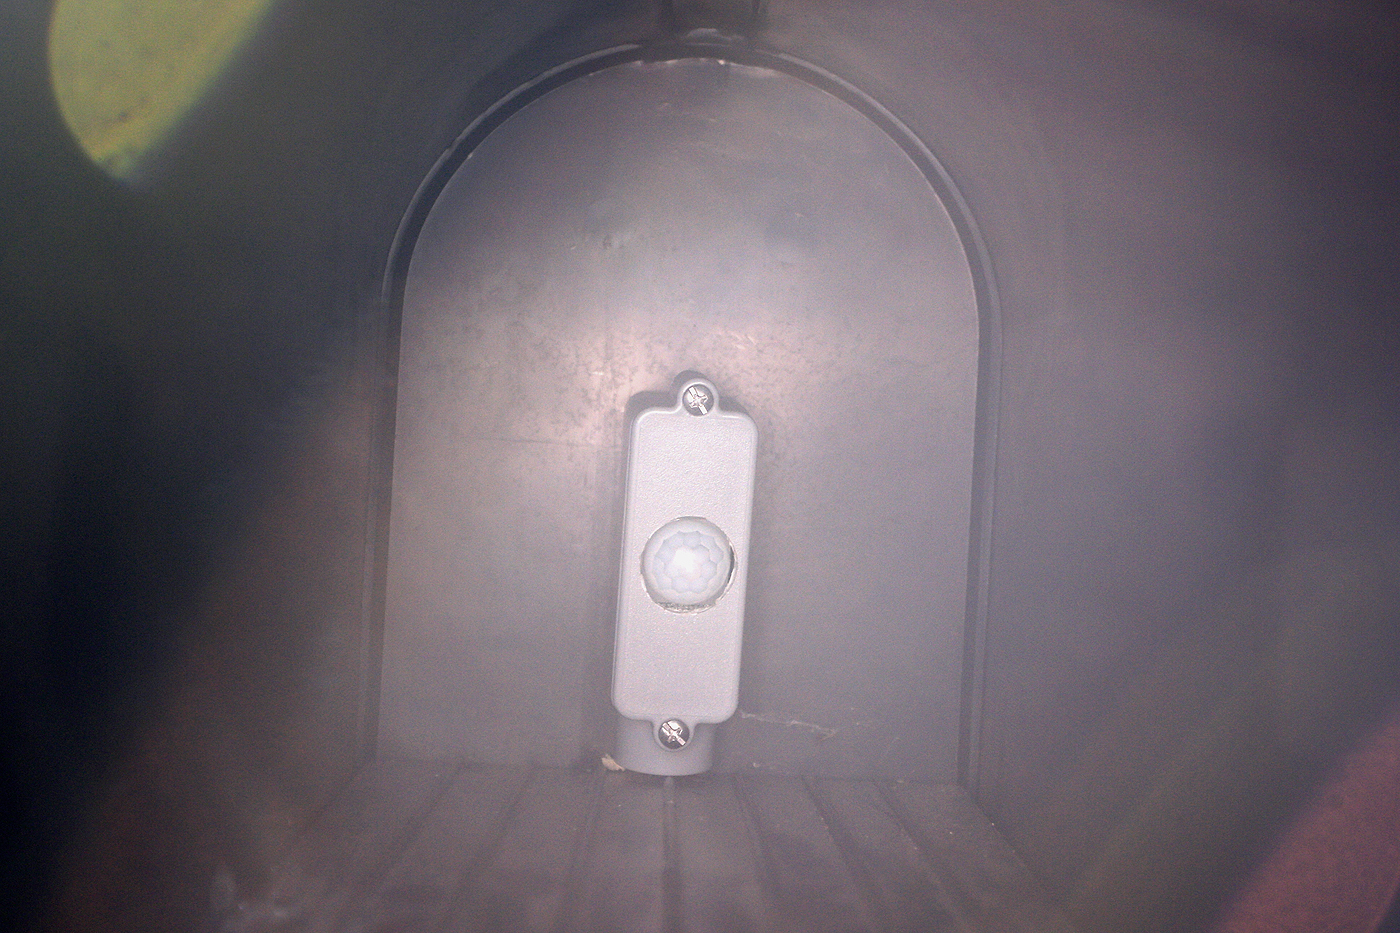
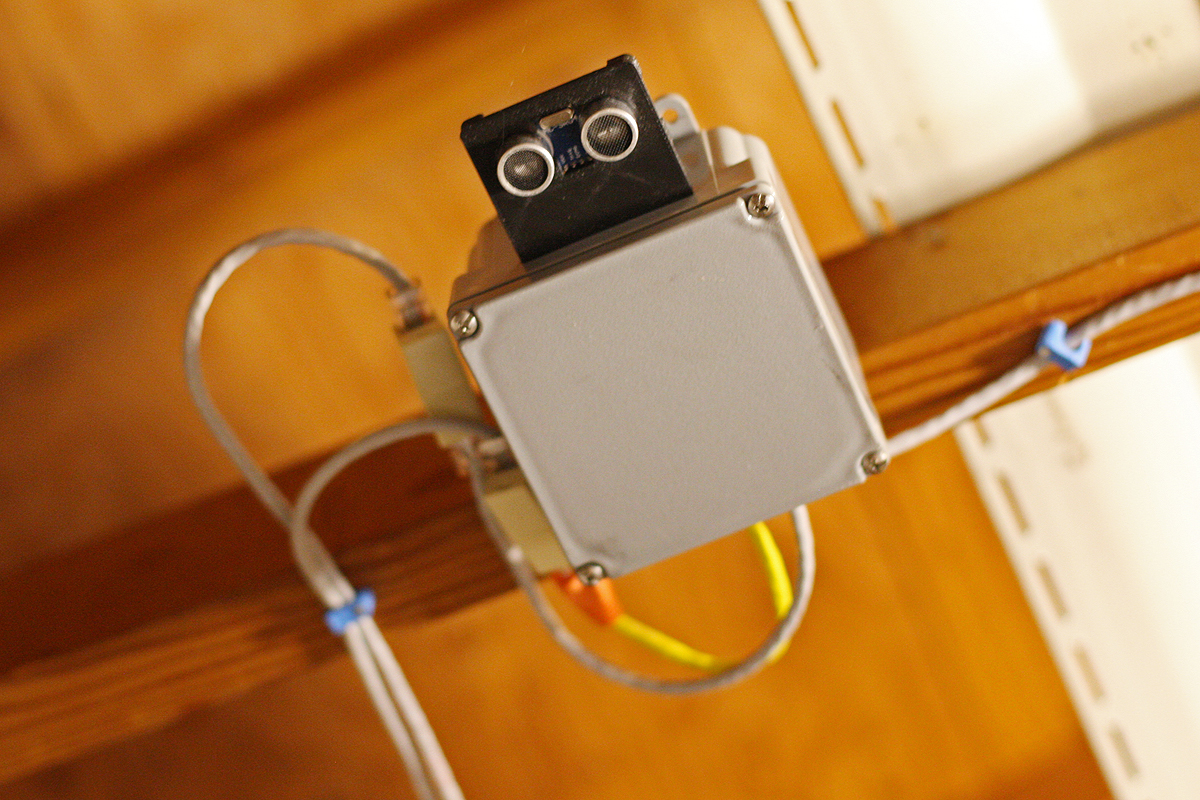
Ethernet was also buried in all corners of the property to measure soil, temperatures, and even the mailbox status. Using a PIR sensor, anyone who opens the mailbox will trigger the smart home server to log the event, send me a notification, and take a photo of who opened it via a camera mounted on the house. The project was inspired by an incident whereby the previous owner thought it was necessary to continue checking mail.
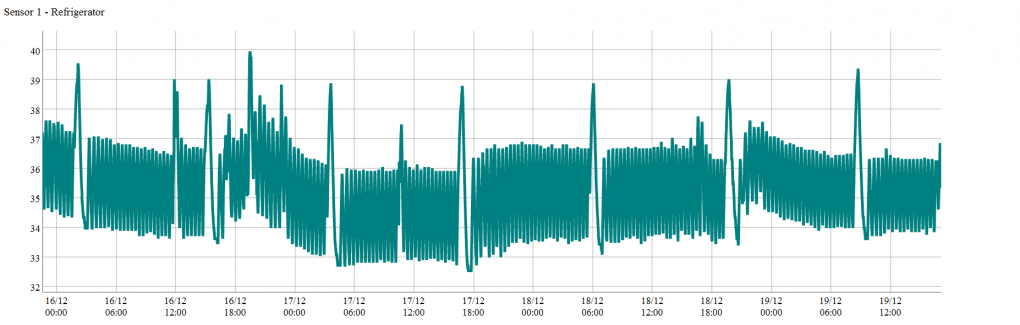
Temperature sensors were not in short supply around the house. Wired with Ethernet, each 3-Wire temp sensor sent its data back to a web page where I could check real-time measurements. I also had it graph out seven days of data in minute resolution. I set up alarm notifications if sensors, such as the refrigerator or freezer, fell outside certain limits.
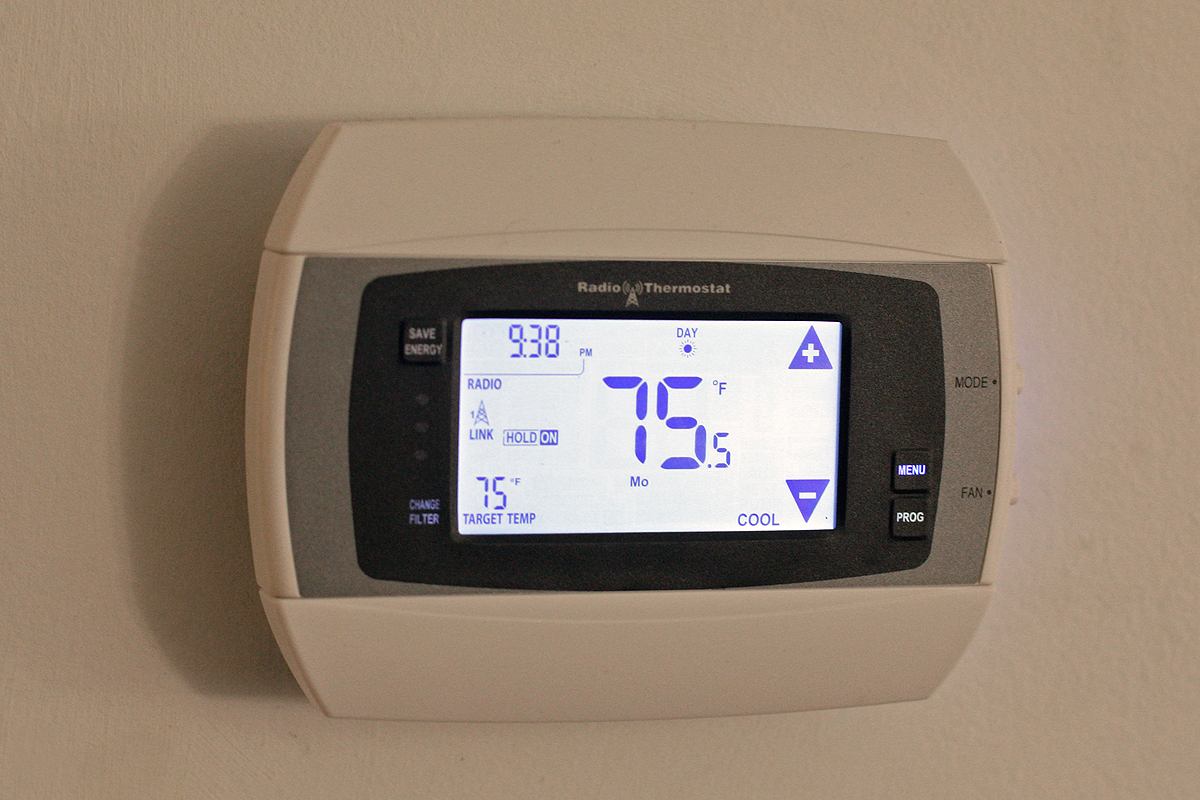
On the topic of temperature, I chose a Radio Thermostat to control the HVAC system instead of products like Nest or Ecobee due to its sub $100 price and JSON controllable back-end; something other vendors were not too keen on doing. This allowed me to control HVAC through direct local IP and integrate controls with the Raspberry Pi server.
Home Built Conclusion
As I evolved and fine tuned the house based on my knowledge and resources, it was very clear that migrating to an already existing and well supported ecosystem may be the most ideal in the long run. My largest takeaway from everything I’ve learned about smart home automation is this:
Hubs, controllers, servers, and cloud solutions come and go. Your outlets don’t. Pick open and adaptable protocols when making perminent installation choices, knowing that a hub may go off the market or no longer be supported. You will at least be able to incorporate already existing open source communication (Z-Wave, Zigbee, etc) protocols into new systems moving forward.